Backsplashes provide homeowners with the avenue to express their creativity with different colors, textures, and materials.
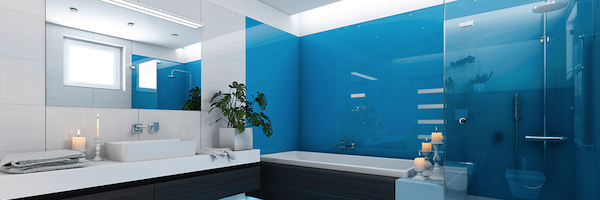
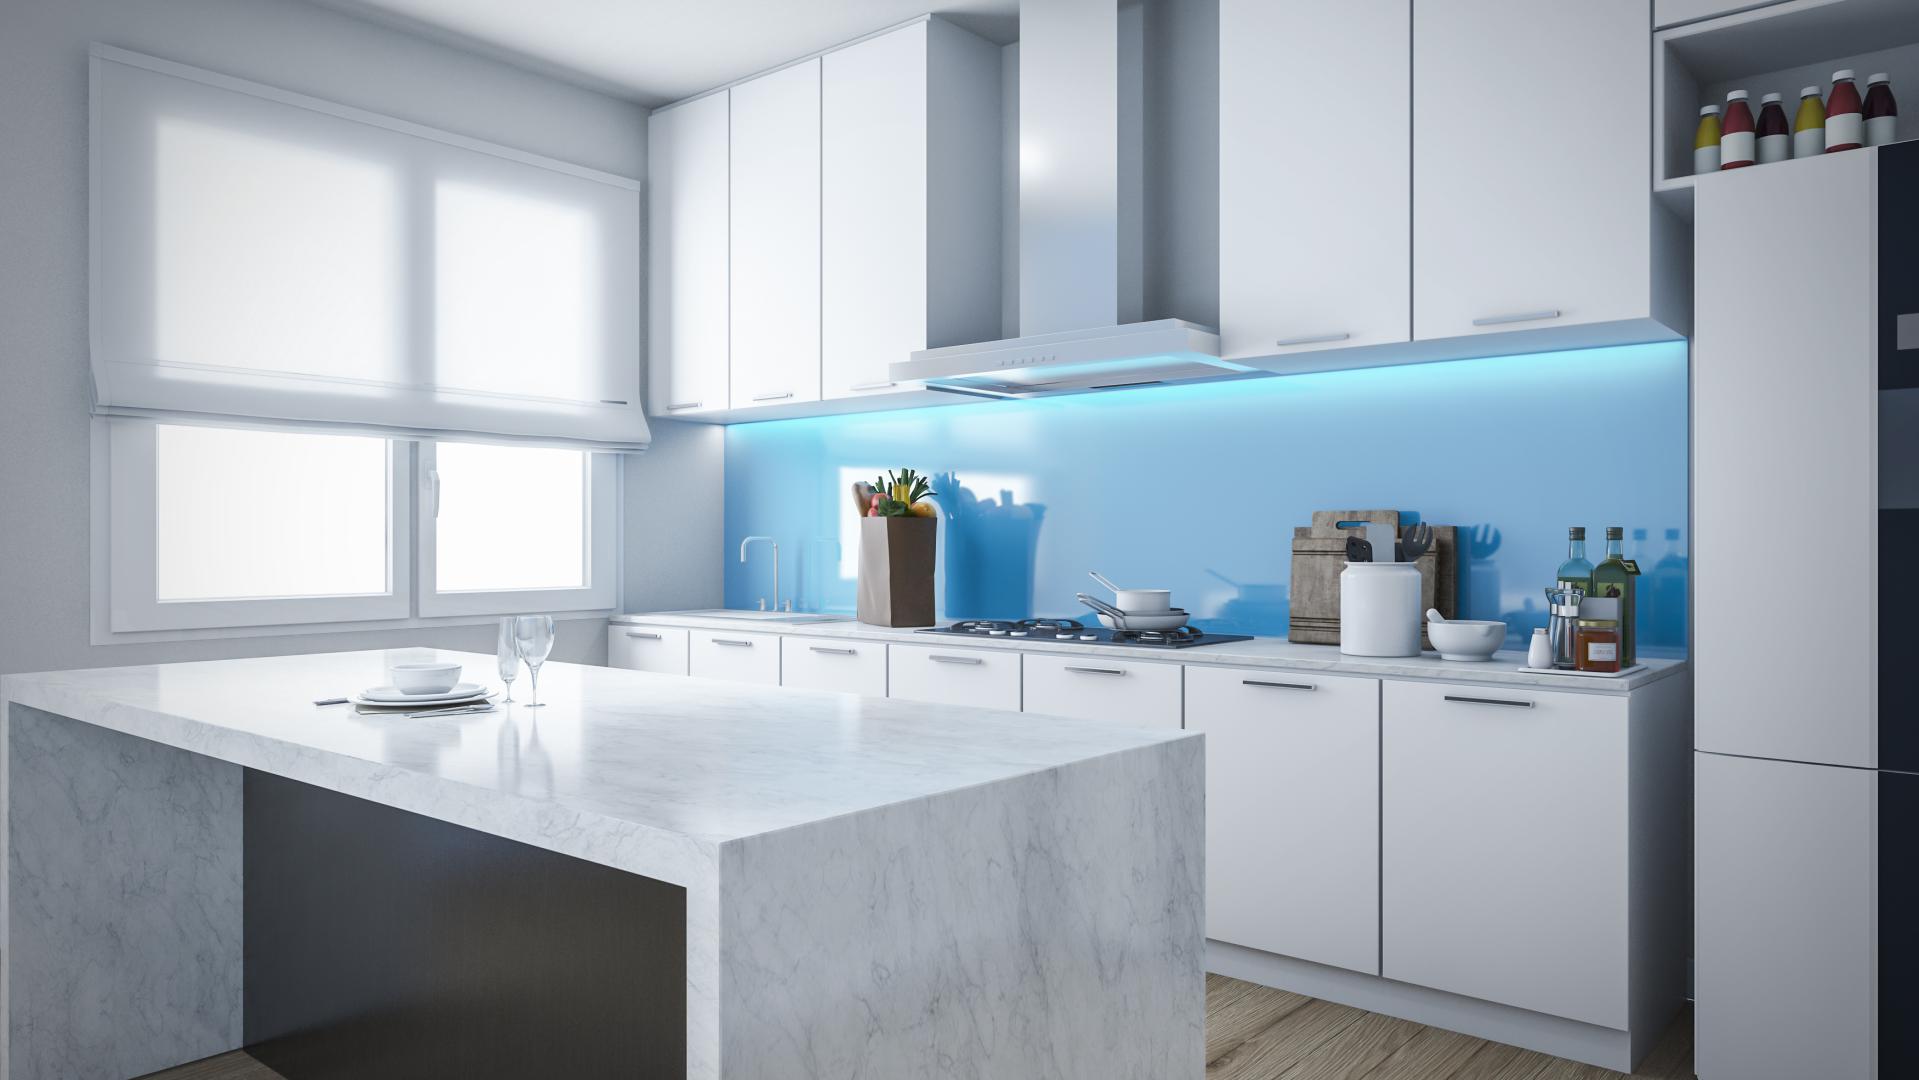
Although more popular in the kitchen, glass backsplashes are also used in the bathrooms as well. The ideal walls for glass backsplash installations are walls directly behind sinks and then stretch the entire length of the countertop, especially for kitchen walls. The goals of installing backsplash are:
- To keep water and splatter away from the walls.
- To protect the walls against unintended water splashing, which can lead to the wall damage with water.
- To protect the wall from grease splatter and food splatter during the preparation of meals.
- They are used to create a glamorous visual layout where they are placed.
Tools and Materials Needed for Preparing Wall for a Custom Cut Glass Sheet Backsplash Installation
The backsplash material to be installed will determine the tools and materials needed for a do-it-yourself installation. In this guide, we will be addressing how to install glass sheet backsplash.
The tools needed for glass sheet backsplash are:
- Suction cups
- Gloves
- Nail cups
The materials required are:
- Painter’s tape
- Quarter-round molding
- White paint
- Clear silicone
- Pre-cut glass sheets.
Steps for a Custom Cut Glass Sheet Backsplash Installation
This requires a higher skill level and it should take no more than two days to complete.
Total Time: 2 days
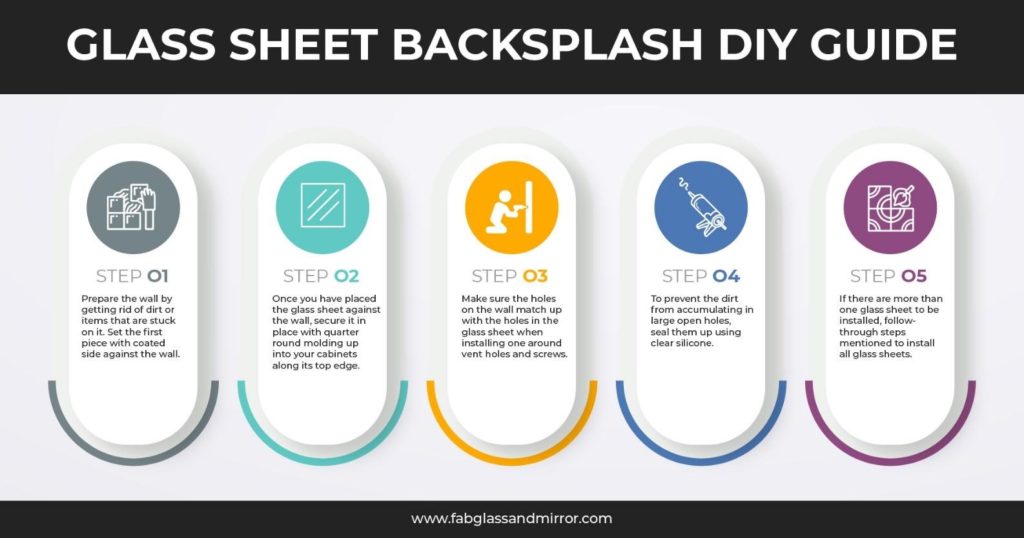
Install the First Piece
Prepare the wall by getting rid of dirt or items that are stuck on it. You do not want anything peeping through your glass backsplash. Set the first glass sheet in place with the coated side against the wall. When handling the glass, use a suction cup or gloves to prevent your fingerprints from staining the sheet.
Secure the Glass Sheet to the Wall
Once you have placed the glass sheet where you want it to be, secure it in place with quarter round molding up into your cabinets along its top edge. This will prevent the top from toppling over or leaning out. You do not use glue to secure a glass sheet backsplash, as this will be visible through the glass sheet.
Thread Screws through the glass sheet
Make sure the holes on the walls match up with the holes in the glass sheet when installing one around vent holes and screws. You can make this easier by pulling the screws out using thread to avoid cracking the glass on exposed screws.
Seal holes with Silicone
To prevent debris and dirt from accumulating in large open holes, seal them up using clear silicone. It also prevents dust from accumulating behind your glass backsplash.
Install the remaining glass sheet
If there is more than one glass sheet to be installed, follow-through from steps one to four to install all glass sheets.
For your glass tiles and glass sheets, Fab Glass and Mirrors have a variety of options, styles, and sizes. Visit the store today.