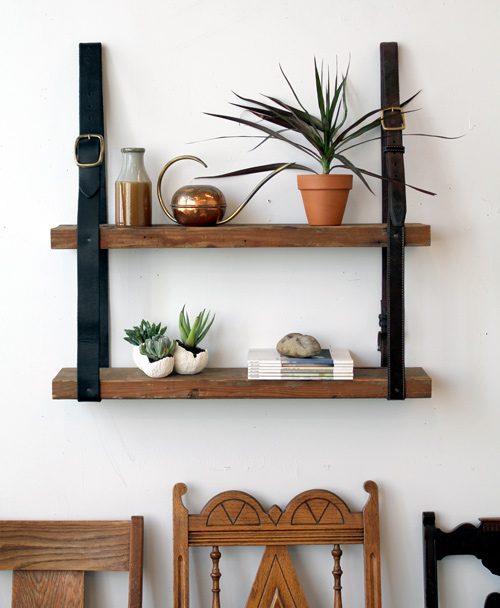
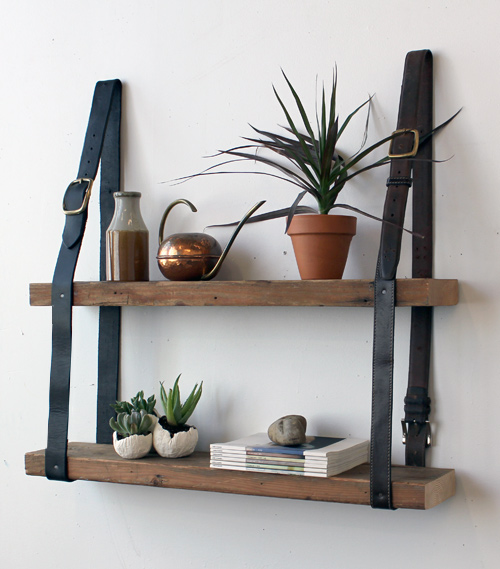
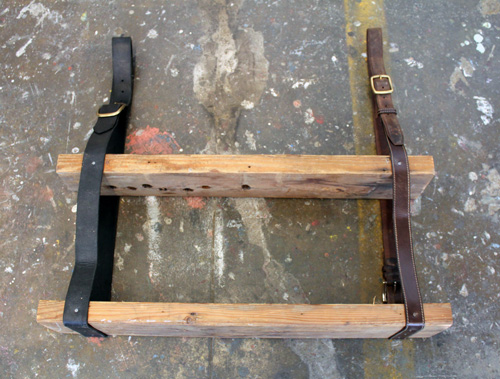
I came across this interesting DIY project for shelving using recycled leather belts and wood on Design Sponge.
The author Kate Pruitt described the project as “extremely unfussy” citing the various ways one can personalise their shelf. From a mix of belts, to using more worn wood or even painting your wood, you’re able to customize your shelf to your taste plus the shelf is entirely scalable allowing you to create both small and larger units.
The pictured version is said to have cost less than $15 or N 6000. Here’s how to put it all together as directed by Kate Pruitt of Design Sponge.
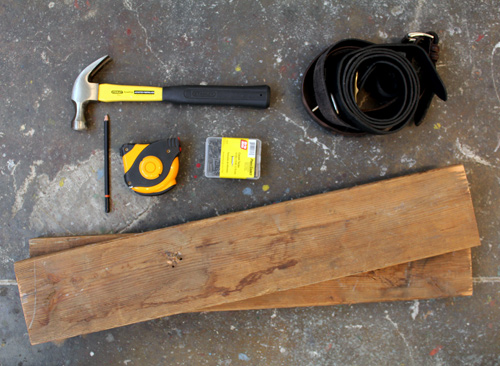
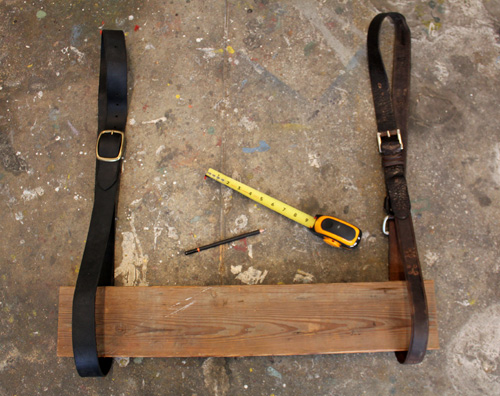
Materials
- 2 wood boards (mine are 5″ wide by 30″ long or 130mm x 760 mm)
- 2–4 long leather belts
- carpet tacks/nails
- hammer
- measuring tape/ruler
- pencil
Instructions
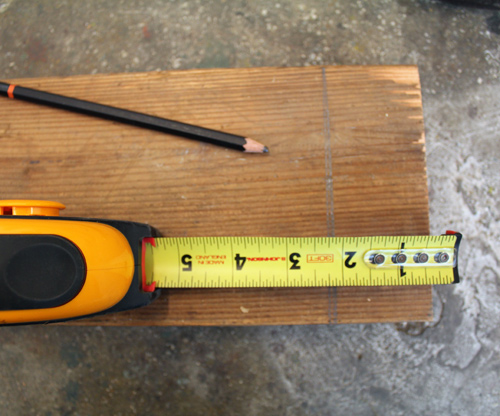
1. Mark both boards 2″ in from either side on the top and bottom. On the underside of the boards, you can draw a line along the 2″ mark to make for easier aligning.
2. Strap the belts together to create two identical loops, about 60″ in circumference. You may need to create extra holes in the belt to get the two straps to the same dimensions, but you can do this easily with a drill or an awl. Hold the first plank inside the two belt loops, with the loops positioned at the 2″ marks, and reposition the belt buckles to where you like, making sure they aren’t aligning with where you need to affix the shelves (which means at the bottom or 10″ up from the base).
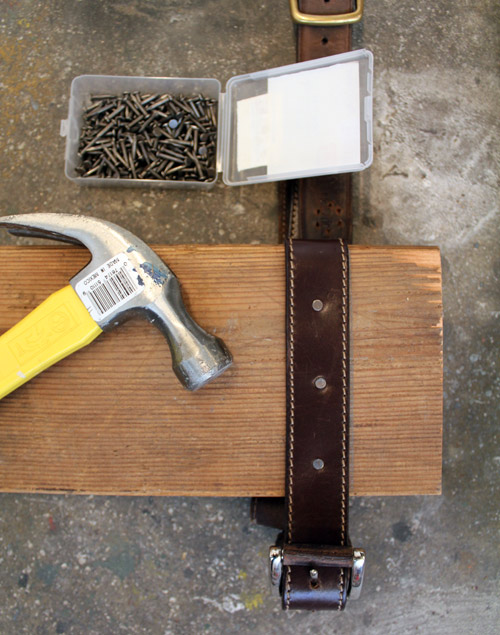
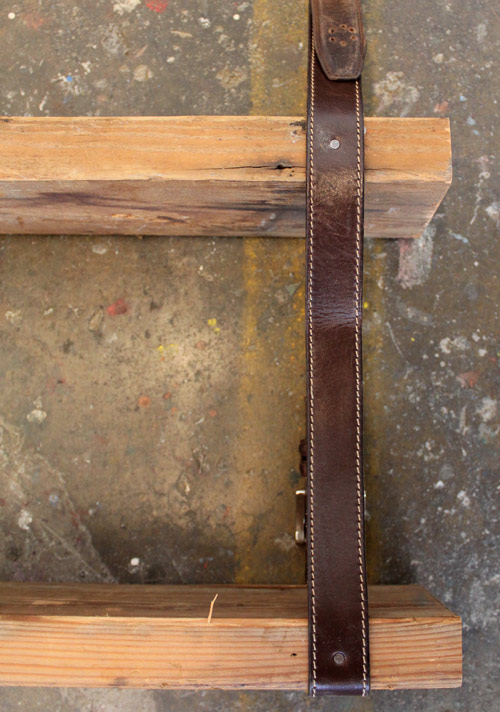
3. When you have the belts in the right place, hold the first belt so it can’t move and turn the plank over so the underside is facing up. Hammer three nails into the belt, making sure the belt stays aligned with the 2″ line. Repeat with the other belt on the left side.
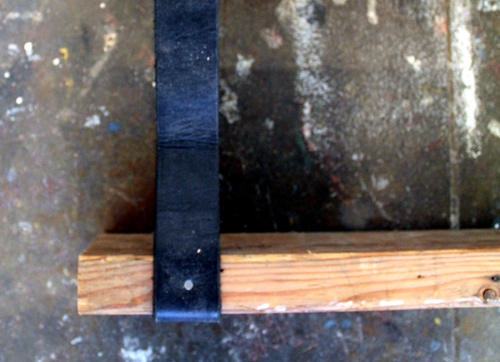
4. Flip the board so the front edge is facing forward, and hammer one nail into the front of each board, securing the belts in place.
5. Lay the shelves down on their sides and position the second board 10″ above the first board, aligned with the 2″ mark. Hold the belt taut and make sure the planks remain exactly 10″ apart. Hammer a nail into the front of the second board. Repeat on the other side.
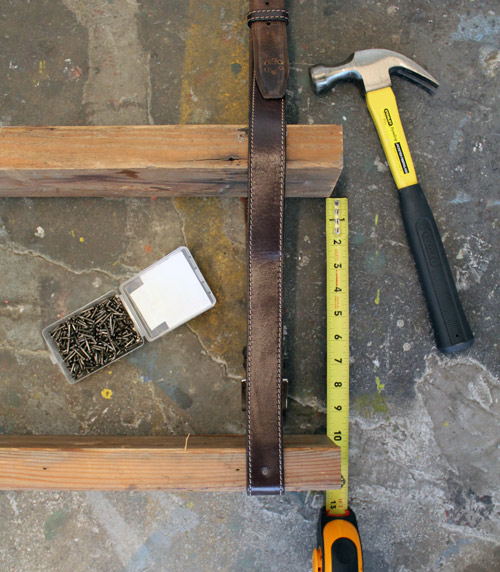
6. Hold the second board in place so the backside is also exactly 10″ apart from the first boards (this ensures the boards are level) and hammer the nails into the center of the belt where it hits the backside of each board. Repeat on the other side.
7. Almost done! The boards are now secured in place. Pull the tops of the loops tight and measure each one to ensure they are exact. If you need to adjust, you can easily add a new hole in the belt to change the lengths.
8. Once your loops are identical heights, your shelf is ready to hang! If you use thick wood, your shelf could be fairly heavy, so I recommend getting a friend to help. Use a level to ensure the shelves are straight. Use longer nails and hammer them through the top back of the loop (so the nails are hidden by the front of the loop). You’re done!